If you’re looking for some tips on how to take pictures of yourself without a tripod, look no further. In this post, I’ll cover some ways to get the job done: using your hands, leaning against a wall, and using an improvised tripod. One of these methods just might be perfect for your needs! Even if you’re worried about how great you’ll look in your photos, don’t fret—in fact, selfies are actually good for you in many ways.
For example, did you know that selfies can boost self-confidence? According to research: “Selfies may be moderating perceptions of self within the context of social media interactions.” In other words, when you snap that selfie and then post it online (hopefully after editing it with one of the best free photo editors!), all those likes and comments can make you feel like a million bucks. Try it out—you’ve got nothing to lose by posting a selfie!
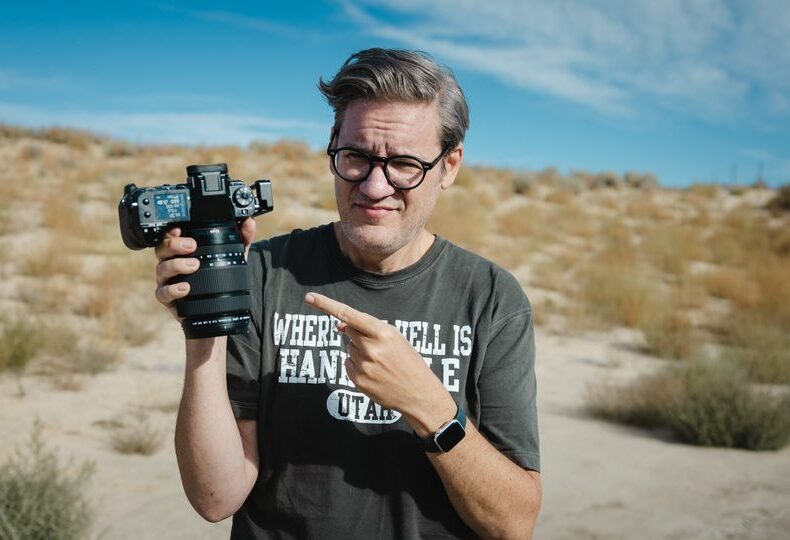
There are times when you won’t be able to use a tripod. It doesn’t mean that you can not take pictures at all. Use these ideas and techniques so that no matter where you are, you can take a great picture of yourself as well as others too.
To start with, it will help if you have a camera that allows you to make adjustments to your settings manually. You will not be able to rely on the automatic features of your camera if there is nothing for it to focus on. If you don’t have one like this, then make sure that your batteries are fully charged and that there is plenty of light in the area where you will be taking your picture.
You need practice just as much as patience when taking photos without using a tripod. There is still plenty to learn even if there was nothing obstructing the shot in front of the camera lens. Try different things several times until it becomes second nature for you.
As wonderful as it is to walk around and take pictures of yourself, you may be hesitant about doing this in the first place. And if you’re afraid of getting shaky, blurry, or out of focus photos—worried that the world looks too blurry in your face when you’re trying to capture it on a camera—you might worry that you don’t have a tripod for your camera. Not to worry! There are many ways to take pictures without a tripod.
Here are some ideas:
Pictures From Within: With most digital cameras, there’s an option called “self-timer.” This means that the camera takes time to focus on its own and will then take a picture after 2 or 3 seconds have passed by. You can use this as your timer when shooting without a tripod.
Picture Your Self: Holding up your camera so that it is pointing at yourself is another way to do this. This requires extra caution because there is always the chance of blurring or losing focus on the eyes (the most fragile part) because they move easily and are close together in photos with people who aren’t moving very much while they’re taking pictures. If you need help taking pictures from within set up instructions for how to get started here .
Plates That Move Themselves: You can also put something heavy on top of your camera like a flowerpot or some books (they’ll balance themselves). Just make sure nothing moves when you’re not looking! This method works great if the object doesn’t move too much but has enough weight so it doesn’t tip over, splashing water onto all sides of your lens/camera body/etc. Another option would be putting something like a candleholder with candles inside all around it so that their heat helps keep it stable every time someone walks by and lifts up what they think would be unstable object but is actually quite stable as long as nothing else weights it down (do not accidentally flip over your dark
If you are at home, or in a public place with tables and chairs, consider using them as support for your camera. Keep in mind that it is best to use a flat surface, such as the top of a table or a solid bench. The arm of a chair or an unsecured trash bin may not be stable enough to rely on.
The same can be said for railings, rocks and other natural elements. It is often counterproductive to try and set up your camera on uneven surfaces. The key is to find slightly elevated flat surface that you can position at just the right angle so that the timer works when you want it to.
If you want to take pictures of yourself, but simply don’t have a tripod lying around, worry not. There are plenty of options that can help you achieve the same results.
The most common practice is to use an existing object as a makeshift tripod stand. If you’re in the park and want to get a picture of yourself, find an empty bench and place your camera on top of it. If you’re near the lake or pond, prop your camera up against one of those boulders that dot the water’s edge. The key here is to make sure that whatever object you use is stable enough to hold up your camera’s weight without falling over. To add extra stability, try using less than full zoom on your lens for wide-angle shots or resting your camera against another object for added support (think leaning it against a tree). Another option is to place a soft material like fabric or cloth between where you prop your camera up and the surface itself—this will help protect both from scratches and damage due to contact with each other, while also providing additional grip so your camera doesn’t fall over accidentally!
- Find a stable surface. Usually, the best choice is a table or chair (if you are in doubt as to what you can use and what not, please check out this article). If you’re outdoors, look for rocks or logs that would make for a suitable surface.
- Be careful! Stable it may be, but some surfaces are also quite valuable – so try to avoid damaging them. For example, I wouldn’t recommend putting your camera on top of a grand piano. Also, if you want to sit on anything that does not appear stable enough for that, do it gently and approach it from the side instead of standing on top of it to prevent damage.
- Find a wall.
- Rest your elbows on the wall and put your camera against your face.
This works much better if you lean with most of your weight to one side, because otherwise you just end up pushing yourself away from the wall. Use whichever elbow is closest to the wall for this, unless you’re shooting yourself from above, in which case there’s no point in trying to lean on anything at all (see Option 3 below). For best results, brace yourself against the wall with your shoulder as well as your elbow.
If your camera has an adjustable screen, you can flip it out, angle it towards you and rest the bottom of the camera on the back of your hand. But make sure that none of your fingers are in front of the lens. The best way to do this is to prop your camera up with the heel of your hand and restrain any movement by handling the base with your fingers.
When you’re out alone, the best way to take photos of yourself is by asking for help from your friends. This can be done in one of two ways:
- Ask them to hold the device for you so that it will not move or shake when taking a photo. This is also helpful if you’re trying to take a picture of yourself from an angle and don’t have a tripod or stand with you.
- Ask them to operate the shutter for you so that all you have to do is pose and smile naturally. (Make sure they don’t move the device or else your photos will look blurry.) They can even help with posing as they know what looks good on camera better than anyone else!
The most common way to take pictures without a tripod is the use of the timer on your camera. Most cameras have a timer that you can set between 2 and 10 seconds, which will give you time to run into position after activating it. It may not be very helpful if you’re trying to get a picture of yourself with other people or animals in it, but for solo shots it’s great for taking photos from your camera’s perspective.
If however you want something more sophisticated than that, then there are many things that enable you to take photos wirelessly from a distance:
- Remote control – You can purchase a remote control device for almost all camera types and brands. Some are infra red, so need line-of-sight to work; others are radio frequency (RF) so don’t need line of sight; others connect by bluetooth, wifi or cable and some will only connect when in close proximity – such as the eyefi card mentioned below. If they aren’t included as part of your camera kit, then they are available to buy separately at most retailers who sell cameras.
Another way to use your digital camera for making selfies is to turn on the stabilization feature. This can be done with a single click of the shutter button. The shutter speed will reduce, and you will get a slightly blurry picture. It’s not a good option if you are taking pictures outdoors because of the light sensitivity.
You can also try using an app like Live Photos or Shutterbug to stabilize your picture. These apps act like filters that smooth out the image and make it look more professional. You can even use them together with other apps to add effects such as blur or grainy images!
When you have time to spare, you can use the editing features in your camera roll to enhance the photographs. You can edit them using the following options:
- Crop
- Add effects
- Add text
- Straighten
- Flip
In summary: You were unsure how to take pictures of yourself while traveling alone.
- The tripod-free solution is to stabilize your camera, whether by setting it on a surface or bracing it against an object, such as a wall or tree. From there, you can use the timer feature on your camera’s screen to take your photo. If you are using a camera phone, switch the camera to selfie mode and use the remote shutter release that comes with most smartphones. If you don’t have one, consider downloading an app that will allow you to control the shutter from another device (such as your tablet) or a smartwatch.