If you’re like most people, setting up your tripod is something that you only do when you really need to. But with a little preparation and some basic knowledge, setting up your tripod can be a breeze. This guide will teach you how to set up your tripod in 5 minutes or less.
Here are five reasons:
1) To capture sharp photos: Tripods allow you to take photos that are both clear and detailed. They help eliminate blur caused by camera movement and can result in sharper images overall.
2) To capture video footage that’s smooth and stable: A tripod also helps to prevent choppy or shaky video footage, which can make for a more realistic experience.
3) To take photos that are in focus and stable A tripod will help you get sharp, clear images by allowing you to shoot without being too shaky.
4) To have a wider field of view When using a tripod, you’re able to capture more area at once.
5) To have a better angle of capture Tripods can help you get a better angle of capture, which means your photos may be more detailed and clearer.
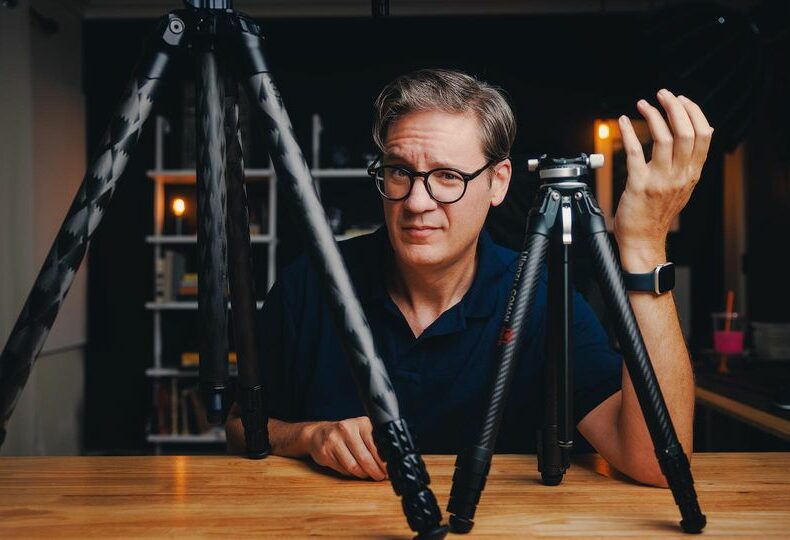
1. First, try to find a flat, level surface (a table top or countertop is perfect) that is at least 6 feet away from the wall or any other solid object. A table top is much more stable than a countertop.
2. Next, place your camera on the table top or countertop, with the lens facing downward. Make sure that there are no obstructions between the lens and a flat surface (a chair, wall, lamp, desk or anything else).
3. Now, put the camera on the tripod. If you have a tripod and you want to use it for your photography, here’s how:
i. Pull the legs all the way out so that they are locked in place.
ii. Place the legs so that they are positioned vertically, with the ball head attached to the top leg.
iii. Make sure that the camera is horizontal and with the lens facing down. Make adjustments as needed to position the camera so that it is positioned on the ball head.
iv. Lower the ball head.
v. Place the camera on top of the tripod so that it is horizontal and with the lens facing up.
vi. Lock in place using the leg locks, making sure that the camera is not tilted to one side or the other.
vii. Repeat steps 3-6 to set up the other side.
viii. Attach the camera to the tripod with a good quality tripod head.
ix. Place your camera on a tripod and make sure that it is level and at an angle so that you can see through the viewfinder.
x. Attach the camera to the tripod using your tripod head.
xi. Turn on the camera and check that everything is working properly before moving on to shooting!
The camera should be placed so that the lens is pointing upwards and not at a 45 degree angle. This can cause problems with alignment when using the viewfinder to frame up your shots, so it’s best to check the position of your camera before you start shooting.
The tripod needs to be as level as possible. To do this, you need to make sure that the tripod legs are all equally long (the height of the camera) and that each leg is in contact with a separate ground surface. This will help to keep the camera steady. If it is not possible to get the tripod legs in contact with separate ground surfaces, you can use a spirit level to make sure that the tripod is straight.
It is important that the object you are photographing is in focus. If the camera s viewfinder is not level, it will make it difficult to achieve this. To achieve the best possible focus, you need to make sure that your subject is in focus.
When you have finished, you should check once again that the camera is level and that everything is in the right place. You must also make sure that it was easy to photograph. You can do this by looking at your work with a magnifying glass.
When you have taken your photographs, there is one final thing to do: look at them again! This is the only way to make sure that they are good. If you think that you have made mistakes, you should try again.